|
Now you are ready to do your animation. Here are the basic steps I use. There are no screen shots as I found that the screen capture function would not work in animation shop.
(1) Go into animation shop and click on the animation wizard (first button on the toolbar).
(2) When the program asks what you want the total dimensions of the new animation to be...click on "Same size as the first image". Go to next.
(3) When the program asks what you want to set as the default canvas color for the animation...click on transparent. (we already have a background color in the image). Go to next.
(4) When the program references source image aspect ratios and asks where within the animation fram should such images be located...click on...upper left corner.
Where it asks when the image occupies only a part of the frame, how should the rest be filled...click on with canvas color. Go to next.
(5) Now the program will ask if you want the animation to be looped...click on yes.
The next step is important for this animation. The program will ask you to decide how long you want each frame to be displayed in 1/100th of a second...input the # 30. (I have determined this by trial and error and found the sand flows best at this rate).
(6) The next step is to start adding your images one at a time. Add image1.psp and continue through to image7.psp. After the last image click on next and then on finish.
(7) View your animation in psp format by clicking on the view button...3rd last on the tool bar.
If you are happy with it, then your next step is to save it as a compuserve .gif file under whatever name you choose. *smile*
Most of the default settings are fine, but given this image tries to duplicate glass, I put the quality slider bar to the top. Other settings that are important will require going into the customize button. The optimized image should contain 255 colours, with a general palette by octree, * Map colors to palette via error diffusion...this is very important to maintain the images glass integrity.
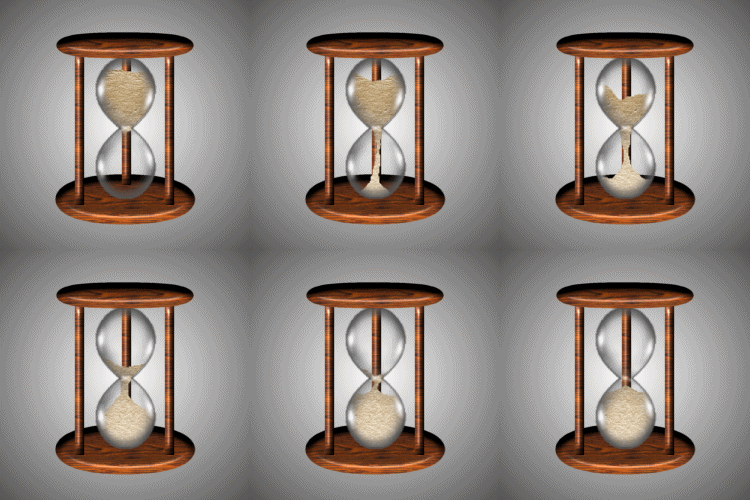
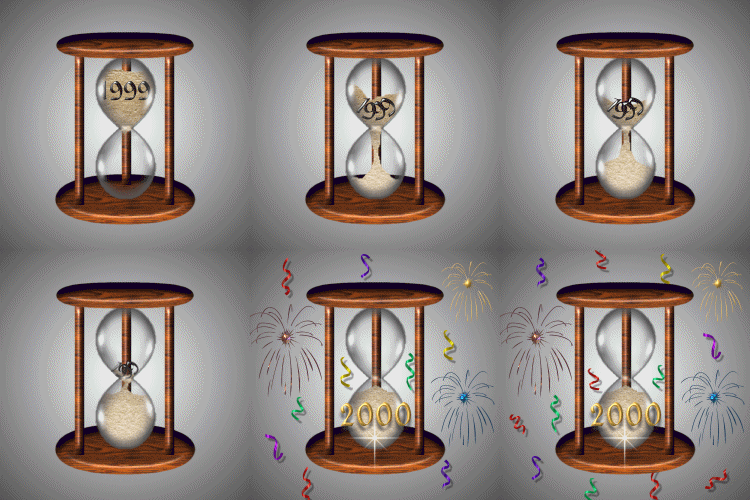
(8) Finally, save the animation by clicking on next. Voila, you have made your animated Millenium Hourglass (with your special touches). *smile*. Below is the finished copy without any frills.
|


