(4) Add another border in a much lighter colour, with the settings: Top="0", Bottom="0", Left="0" and Right="7". I chose colour R=209, G=207, B=210.
|

(5) For the last stripe we are going use a very dark colour as a thin pinstripe. Out settings are: Top="0", Bottom="0", Left="0" and Right="3". I chose colour R=32, G=49, B=39.
|


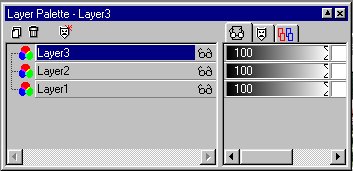
(6) Now, copy and paste the image 3 times on separate layers so they are aligned as 15 stripes. Then merge layers visible.
|
|
(7) Copy this layer and paste as a new layer. Then rotate the image 90 degrees right. Move this layer so it is aligned with the top of the bottom layer.
|


(8) Using a rectangle selection unaliased, crop to the bottom of the last horizontal line.
|


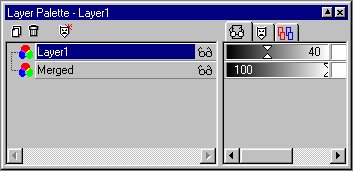
(9) Adjust the transparency of top layer to 40%.
|
|
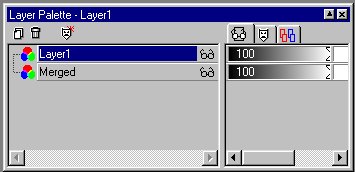
(10) Merge all layers flat and....voila....you have a plaid pattern. Save as a .jpeg and then use in a triple border webset. View my source code, if you need to see how to set up the table for same. *smile*
I also have a set made with only the plaid and a solid as a double border set. You can view it HERE.
Email me, if you have any questions at nsmc@sprint.ca.
Hope you've enjoyed the tutorial. *smile*
|
|
|