Welcome to my snowglobe tutorial. This is my first so...please be gentle. I will try to be as clear and concise as I possible can. For easier legibility I have not texturized the background. *smile*
You will need a copy of the tube zip files for: (1) any of my gnbase tubes (I'm using gnrosebase.zip in this example). (2) gnglassglobe.zip. (3) gnglobepicture.zip. They can be found HERE.
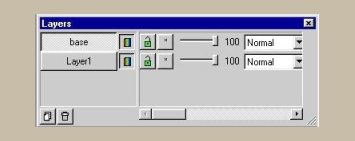
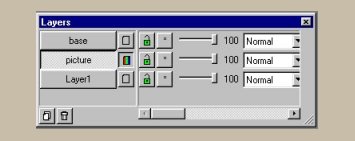
Note: Images in the tutorial have been resized to 50% for picture and 80% for layer view. respectively, of the original to facilitate quicker loading time. This tutorial also assumes you are familiar with transferring zip files to your tube directory. If not, simply open saved zip file in PSP and use file/export/picture tube. The settings are all 1 cell. It also assumes you are somewhat familiar with the layers feature. If not use toolbar layers/new and name each layer at the prompt, accepting with an OK. To arrange layers use toolbar layers/arrange making sure you are on the layer you wish to move up or down (this is signified with a check mark).
(1) Open a new image 272 x 336 pixels - transparent background. (make sure to set view/rulers).
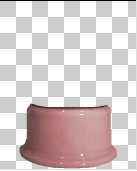
(2) Create a new layer and call it base.
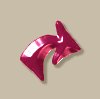
(3) Select your choice of base picture tube (after exporting as a picture tube) and paste it at size 100% at co-ordinates 136 width by 270 height.