|
|
|

|
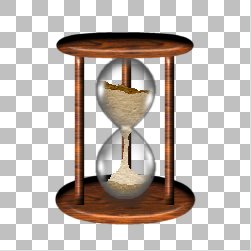
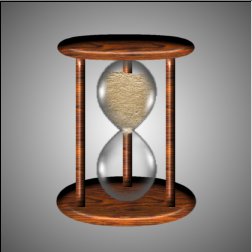
| (14) Deselect and turn all layers back on to see your hourglass! If you like you can add a drop shadow on the bottom sand to reflect on the bottom of the base. Your settings should be mostly vertical and using one of the darker colours in your base. |
|
| (15) Now you can resize, colour in your background, frame the picture...even add text or streamer and sparkel picture tubes! I suggest you keep a copy of the unmerged version in psp format before making any changes as the next part of this tutorial will be on animating the sand. |
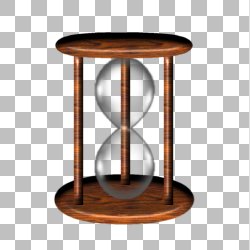
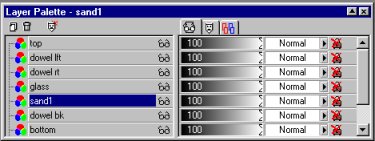
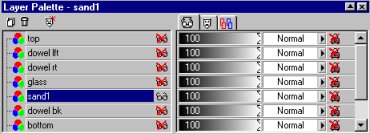
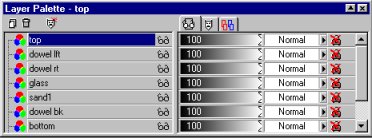
| (16) Ok, now we are going to do our animation. We are going to go back to the 3rd page of the tutorial where we have a sand layer that we will rename sand 1. Images are at 100% and screenshots are at 80% for better visibility with layers. |
|
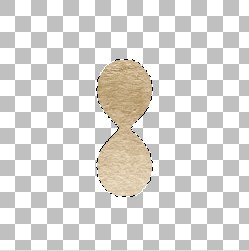
| (17) This time I have used the hourglass selection, but have contracted it by 3 pixels on the sand layer before filling to make sure none of the sand will peek out from around the glass when animated. Flood fill with texture/pattern as before. |
|
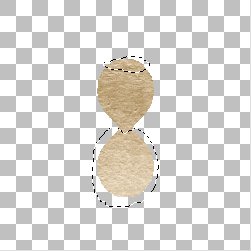
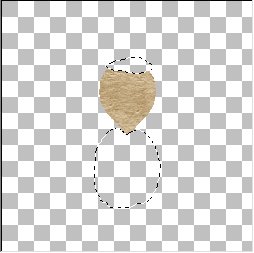
| (18) Take a copy of the image (Window/Duplicate), save the original for subsequent sand layers and work on this copy. With the freehand selection tool select an area at the top and most of the bottom sand to be deleted. (Modified selections are done by using the shift key at the same time as the selection tool). When you are happy with them edict/cut these selections. |
|
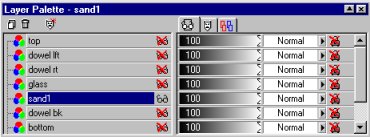
| (19 Deselect the sand layer and turn it off. Go to the background layer and floodfill it with whatever background you choose. The hourglass does not animate well on a transparent background as the glass is meant to be transparent showing the back dowel. I have used a sunburst gradient with a white foreground and middle grey background at 50/50. Then go to the top layer and layers/merge/visible. Save as image 1 of your animation in psp format. |
|